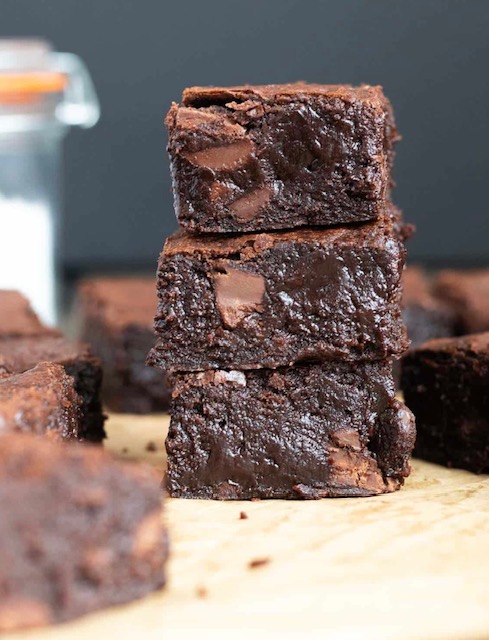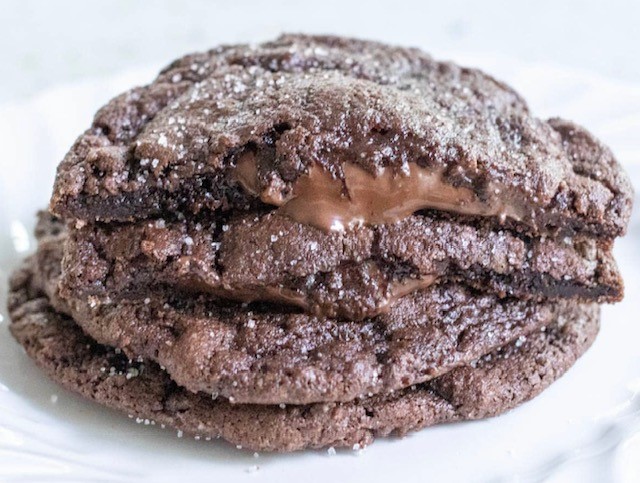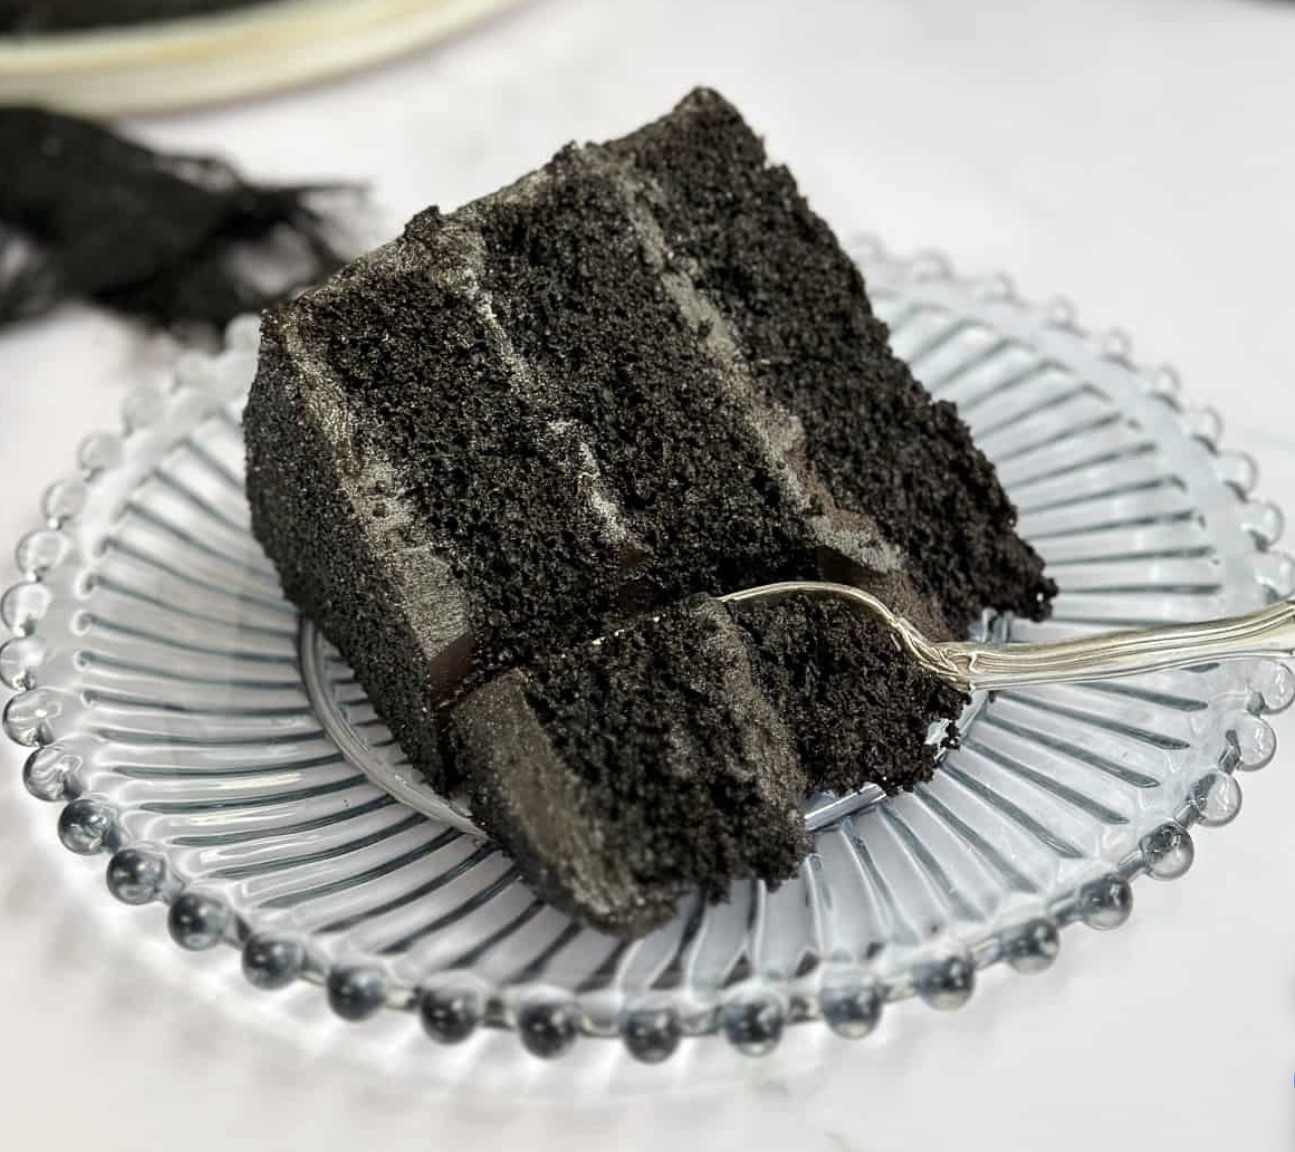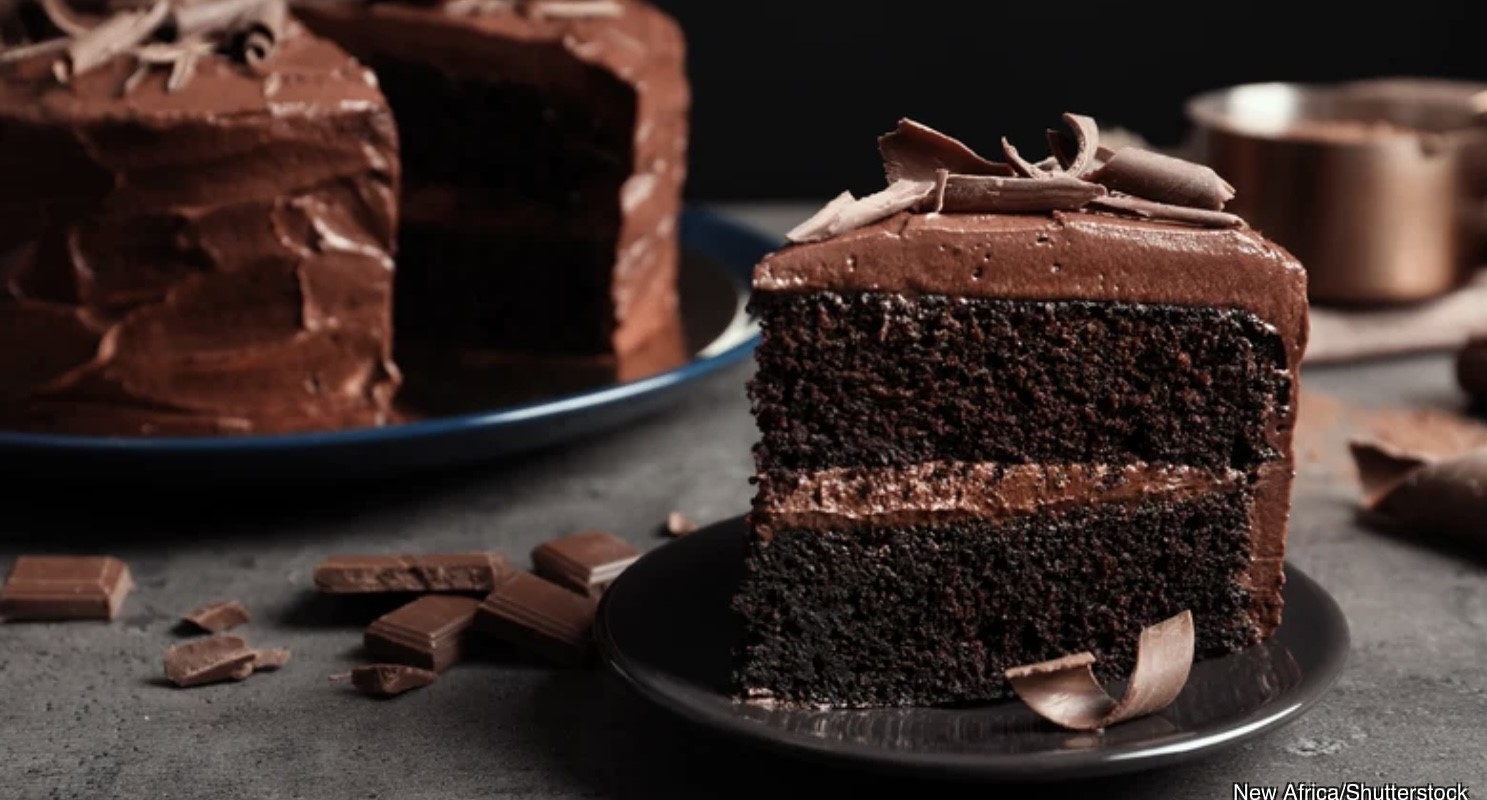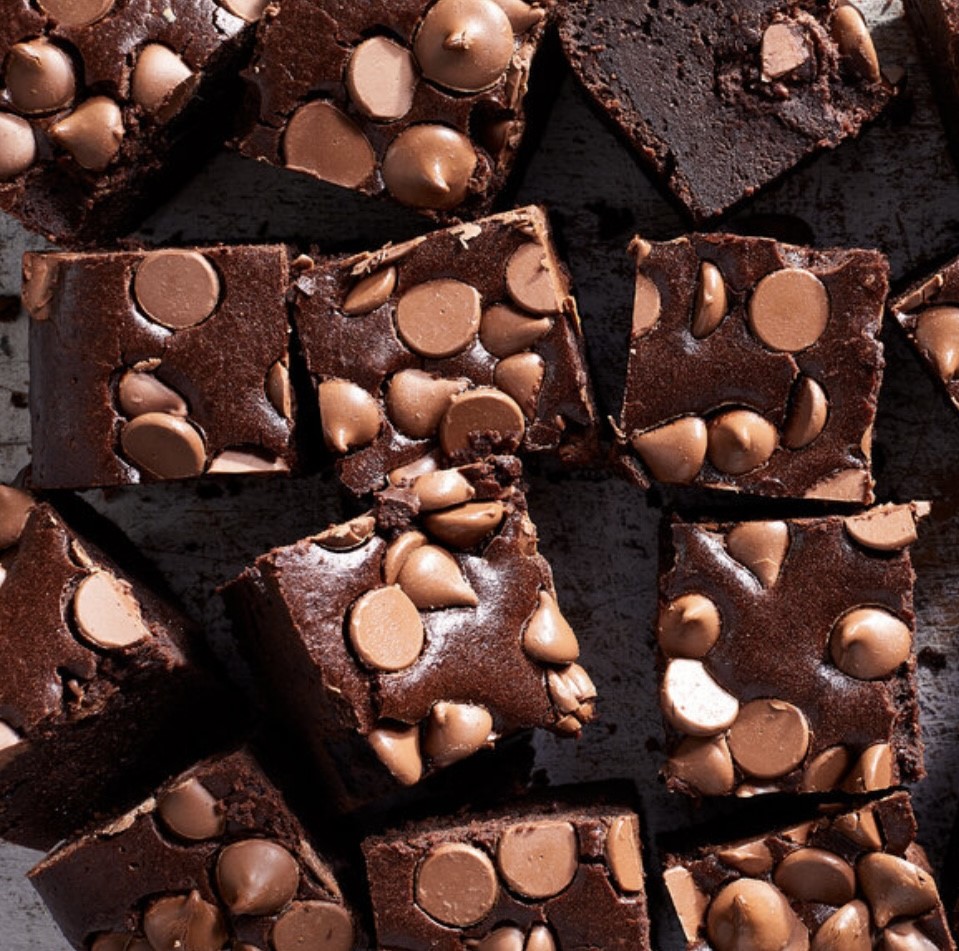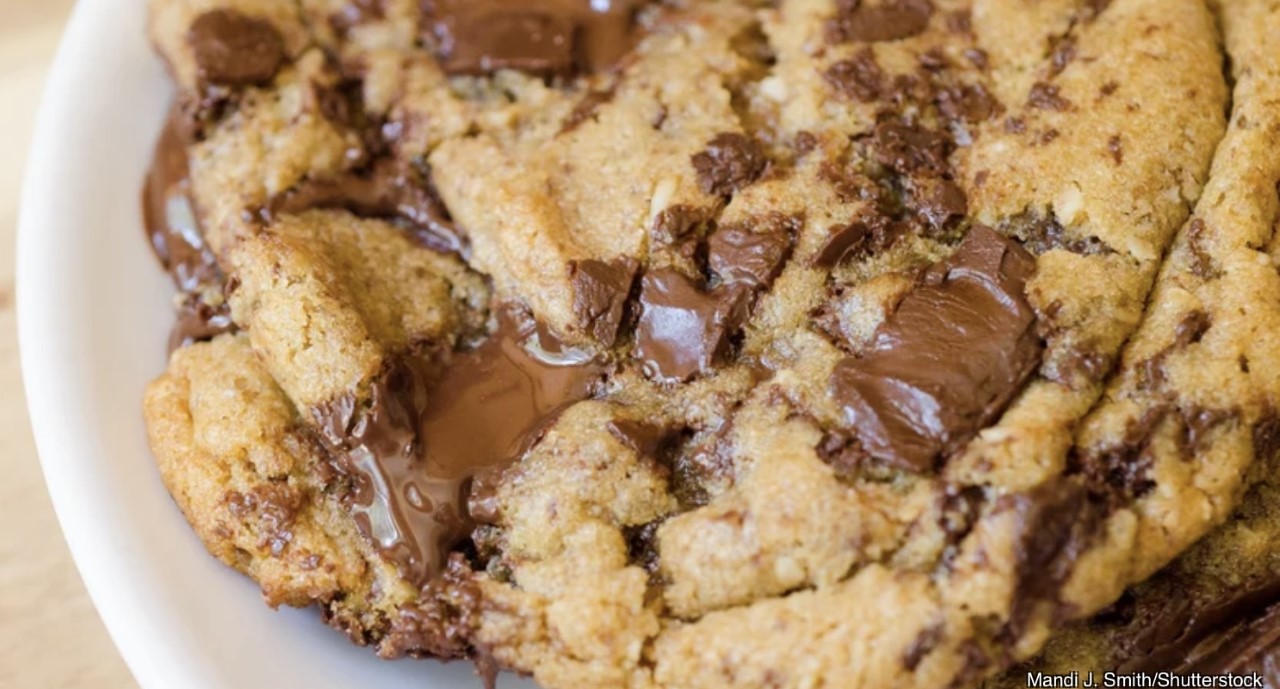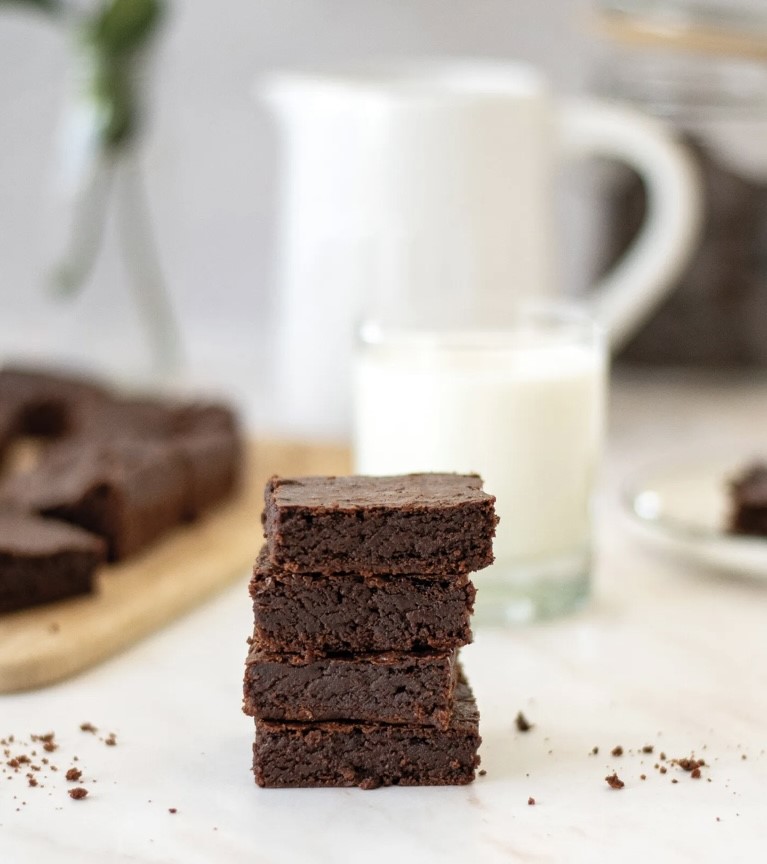
These Double Chocolate Sheet Pan Cookies are thick, chewy, and loaded with rich chocolate flavor in every bite. Best of all, there is no scooping required; just press the dough into the pan, bake, and slice into however many cookies you’d like. No judgment here on how big your “cookies” are!
Ingredients:
1 cup (2 sticks / 227 g) unsalted butter, melted
1 cup (200 g) light brown sugar, packed
½ cup (100 g) granulated sugar
2 large eggs, room temperature
1 large egg yolk, room temperature
2 teaspoons vanilla extract
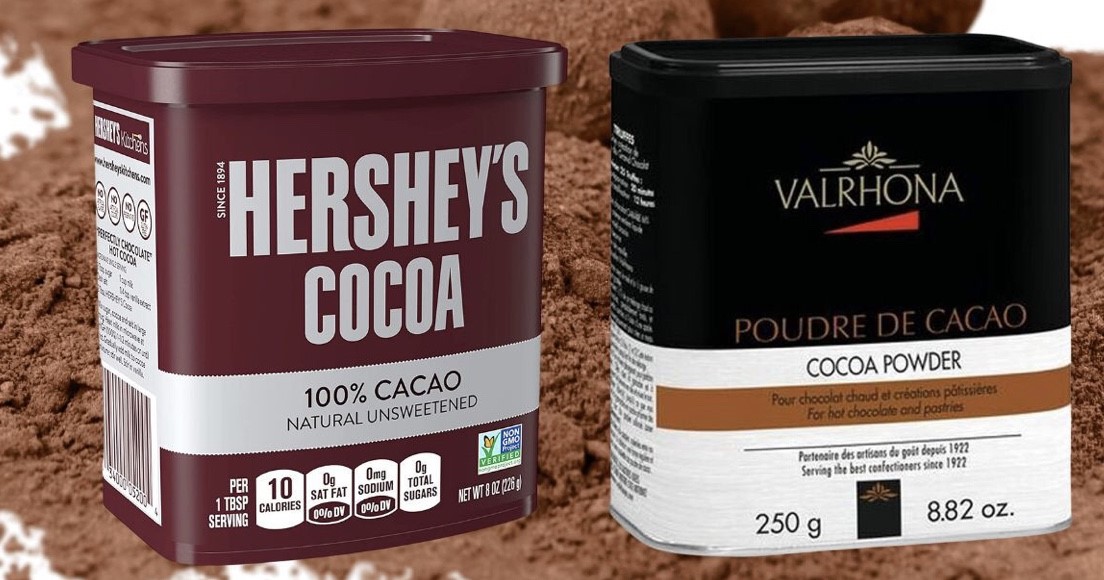
½ cup (50 g) Dutch-process cocoa powder
2 ¼ cups (281 g) all-purpose flour
1 tablespoon cornstarch
1 teaspoon baking soda
1 teaspoon kosher salt
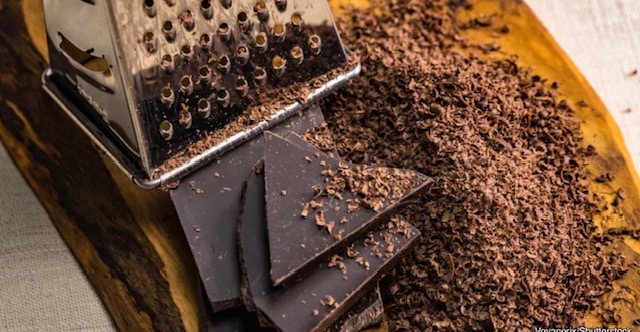
2 ½ cups (455 g) dark chocolate chips and chunks, divided (2 cups for the dough, ½ cup for topping)
Instructions:
Preheat oven to 350°F. Line a 15x10x1-inch sheet pan with parchment paper, leaving an overhang on the sides for easy removal.
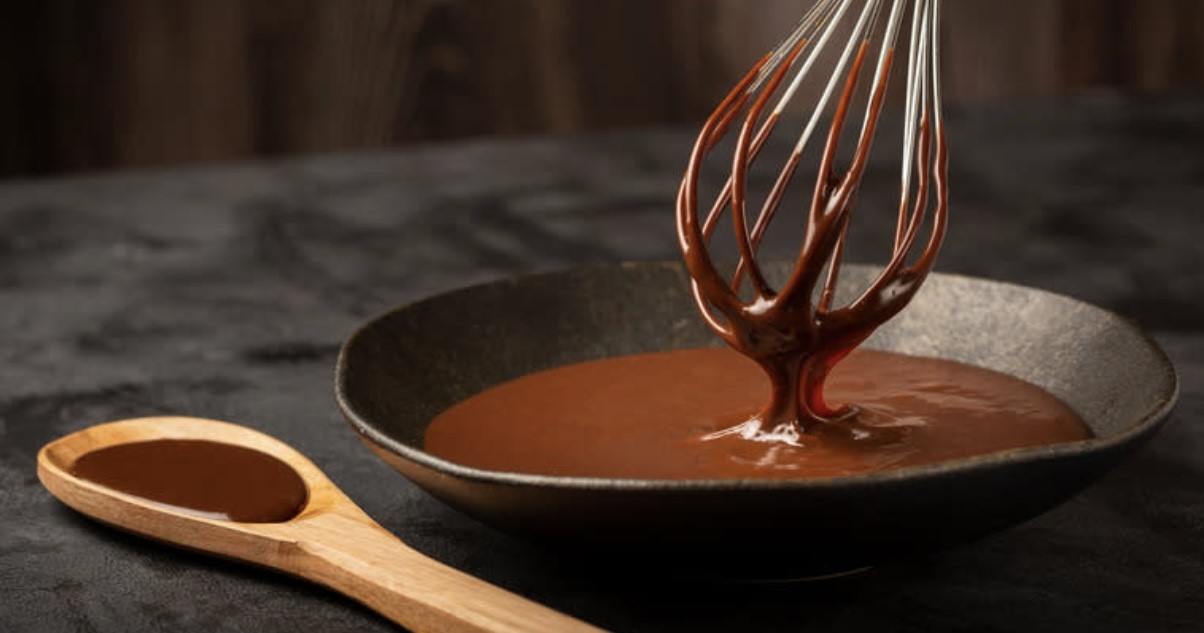
In a large bowl, whisk together the melted butter, brown sugar, and granulated sugar until smooth and combined.
Add the eggs, egg yolk, and vanilla extract. Whisk until smooth and fully combined.
In a separate bowl, whisk together the cocoa powder, flour, cornstarch, baking soda, and kosher salt.
Gradually add the dry ingredients to the wet ingredients, stirring just until combined. Do not overmix.
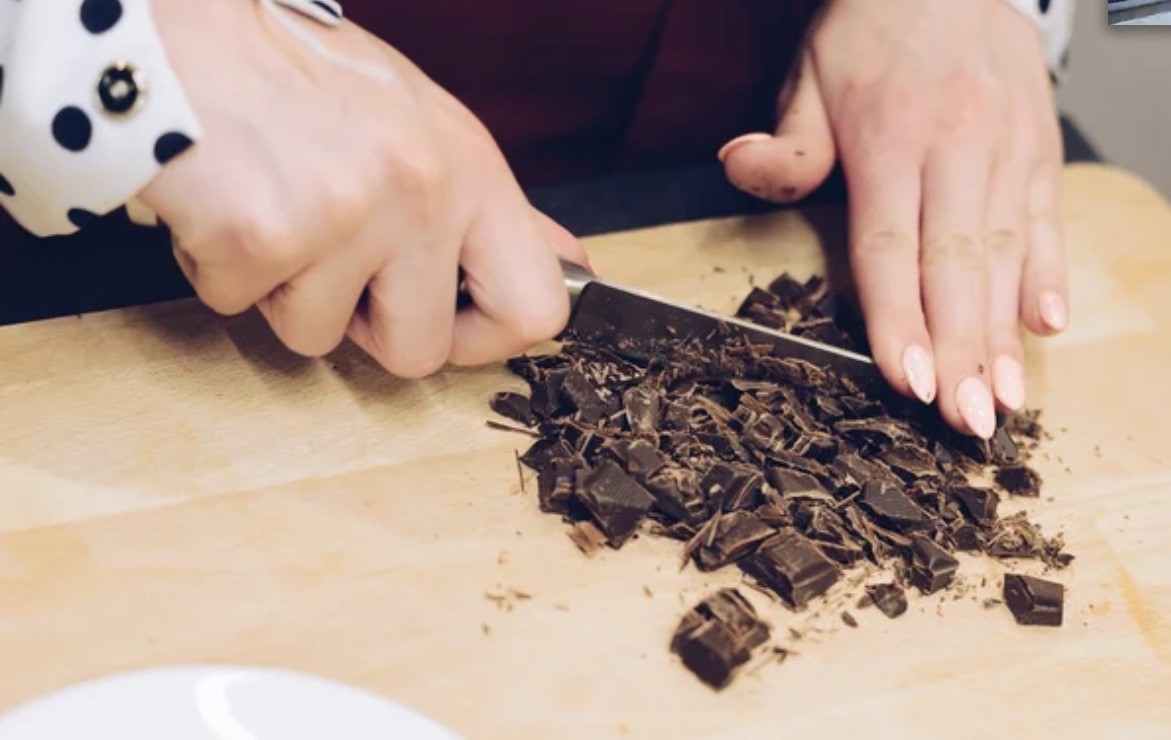
Fold in 2 cups of the chocolate chips and chunks.
Press the dough evenly into the prepared sheet pan, spreading it all the way to the edges. Sprinkle the remaining ½ cup chocolate chips and chunks evenly over the top, gently pressing them into the dough.
Bake for 18 to 22 minutes, or until the edges are set and the center still looks slightly underbaked. The cookies will continue to set as they cool.
Let the cookies cool completely in the pan before cutting into squares and serving.
Click HERE for ingredient substitutions, nutritional value, and more.
Recipe posted on iambaker.net.