You don’t need to be a professional chocolatier to make beautiful tempered chocolate. Achieving its signature shiny, crisp finish may take a few attempts to master, but some common kitchen tools and a little patience can go a long way. Before you know it, you’ll be making confections worthy of a high-end candy counter.
How to Temper Chocolate
Time: 30 to 35 minutes
Cost: $15
Difficulty: Hard
Materials
1 large bar of premium baking dark chocolate
Tools
Large serrated knife
A saucepan, double boiler, or microwave-safe bowl
A spatula
A food thermometer
(Optional) A large bowl of lukewarm water
Instructions
1. Chop up the chocolate. Use a large serrated knife. Set one third of the chopped chocolate aside.
Note: Avoid using chocolate chips. They often have additives that will help them hold their shape during baking, but will disrupt the tempering process.
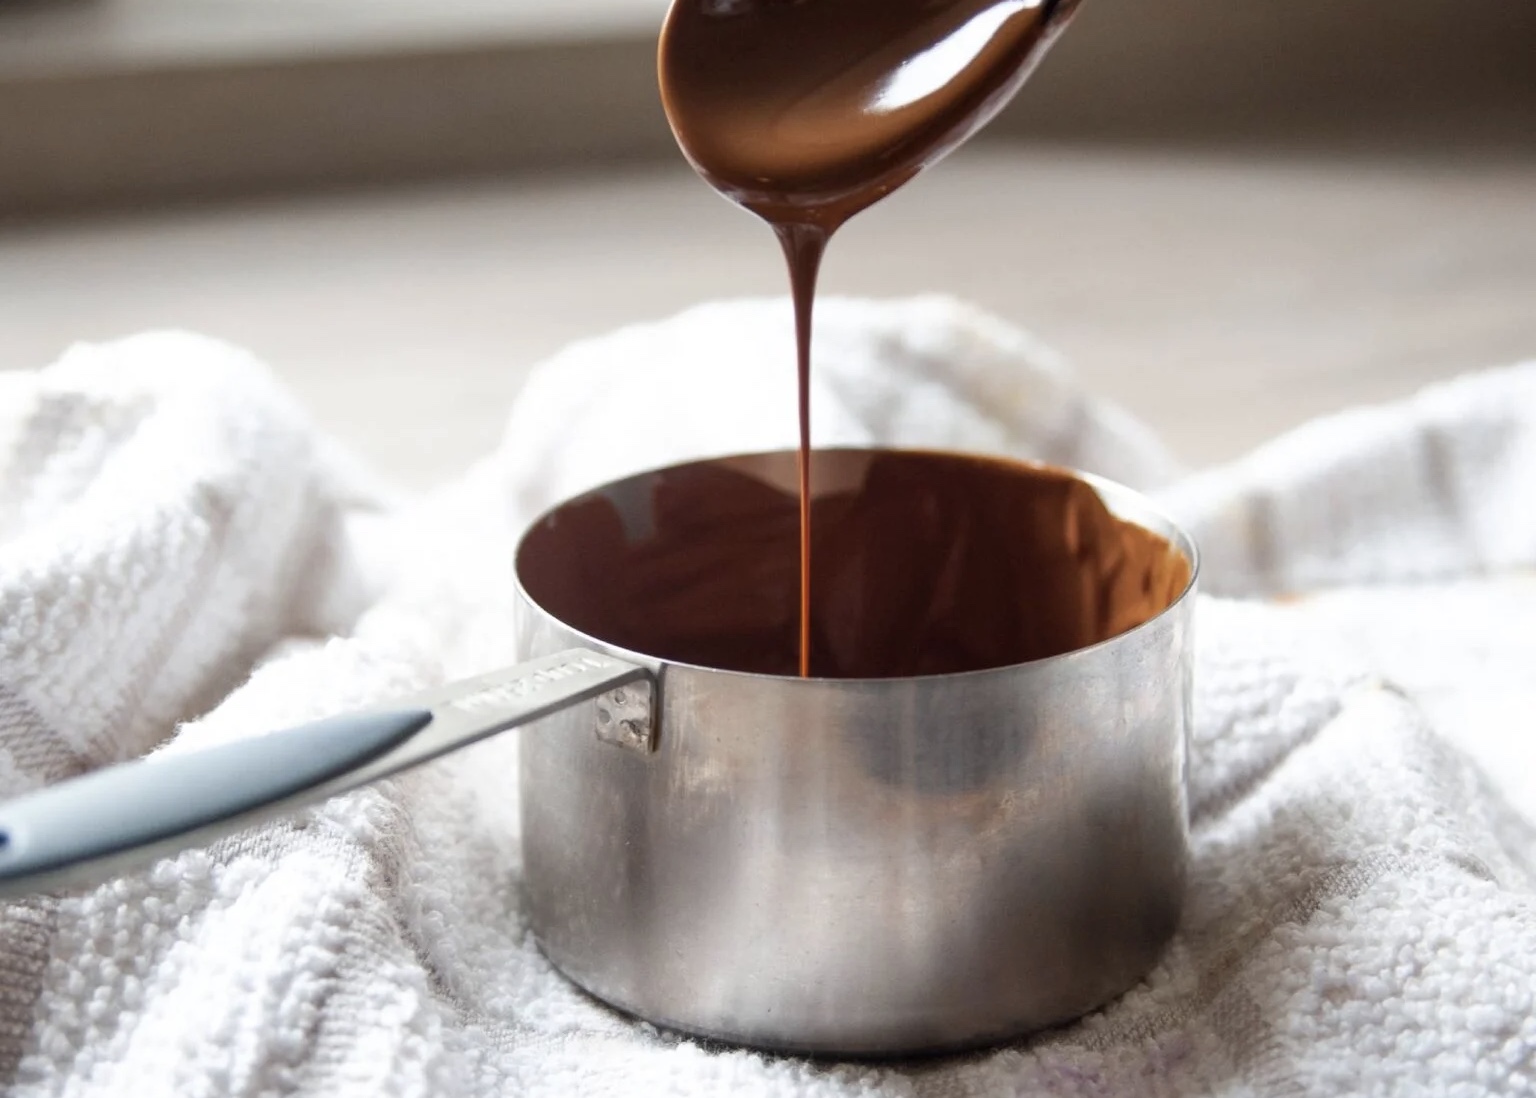
2. Melt the chocolate on low heat. You can do this in a microwave, a bowl placed over a pot of simmering water, or a double boiler. Stirring constantly is key, as it’ll prevent the chocolate from burning as it heats up, or solidifying as it cools down.
Pro tip: Use a spoon or spatula, as a whisk will add too much air into the mixture and keep the cocoa butter crystals from packing tightly together.
Warning: Don’t place a pot lid over your chocolate—this will cause any steam coming off of the chocolate to condense and drip back into it. Even the smallest amount of water can ruin a batch of melted chocolate.
3. Very carefully, heat your melted chocolate to 115 degrees Fahrenheit while stirring constantly. A couple degrees above or below this temperature is okay, but don’t let it exceed 120 degrees.
Pro tip: Be sure to use a thermometer that can accurately measure low temperatures—in the 80- to 90-degree range—as well as high ones. “A human thermometer actually works the best. You’re at really low temperatures for most things in the kitchen,” says food scientist Pat Polowsky, who currently works for Walmart’s health and wellness division.
4. Remove the chocolate from the heat and stir in the unmelted chocolate you put aside earlier.
5. Stir and monitor the chocolate until it reaches 84 degrees. This could take as long as 15 minutes. Be patient and don’t stop stirring.
Warning: “Never put [the melted chocolate] in the fridge—that’s a cardinal sin in chocolate-making,” Polowsky cautions. “If you put tempered chocolate in the fridge, even though it’s not melting, these [weaker] crystals will slowly form over time.”
6. (Optional) Dunk the bottom of your melting vessel into lukewarm water. If warm weather is giving you trouble lowering the melted chocolate’s temperature, this will speed up the process. Just make sure no water comes in contact with the chocolate itself.
7. Heat the chocolate again. Use low heat and monitor its temperature carefully. When it reaches 88 degrees, remove it from the heat source. Your melted chocolate is now ready to pipe, dip, spread, and mold.
If your end result doesn’t come out as planned, don’t fret—you can always re-melt it and restart the tempering process. And even if you aren’t satisfied with its appearance, poorly tempered chocolate still tastes great. This process is about adjusting the chocolate’s appearance and heat resilience, and doesn’t compromise the flavor at all.
So, what is “tempering” anyway?
Tempering is the process of using heat to break down the cocoa butter crystals in chocolate and then allowing only the strongest and most stable ones to re-form.
The cocoa butter in chocolate exists in several different types of crystals, which break apart at different temperatures. Tempering starts by thoroughly melting the chocolate to break up all the crystals and then cooling the mixture just enough to let only the strongest ones form again. When they do, they take a shape similar to a tuning fork.
As published on PopularScience.com.